Characters · 6 min read
Characters: one recurring figure across all your posts
Create a character, give it a base picture, poses and scenes, and let Create use it in every post.
A character is a recurring illustrated figure. It carries a description, a base picture and a set of poses, so a series of posts always shows the same face.
1. Create a character
Open Characters and click New character. Click the name at the top to rename it.
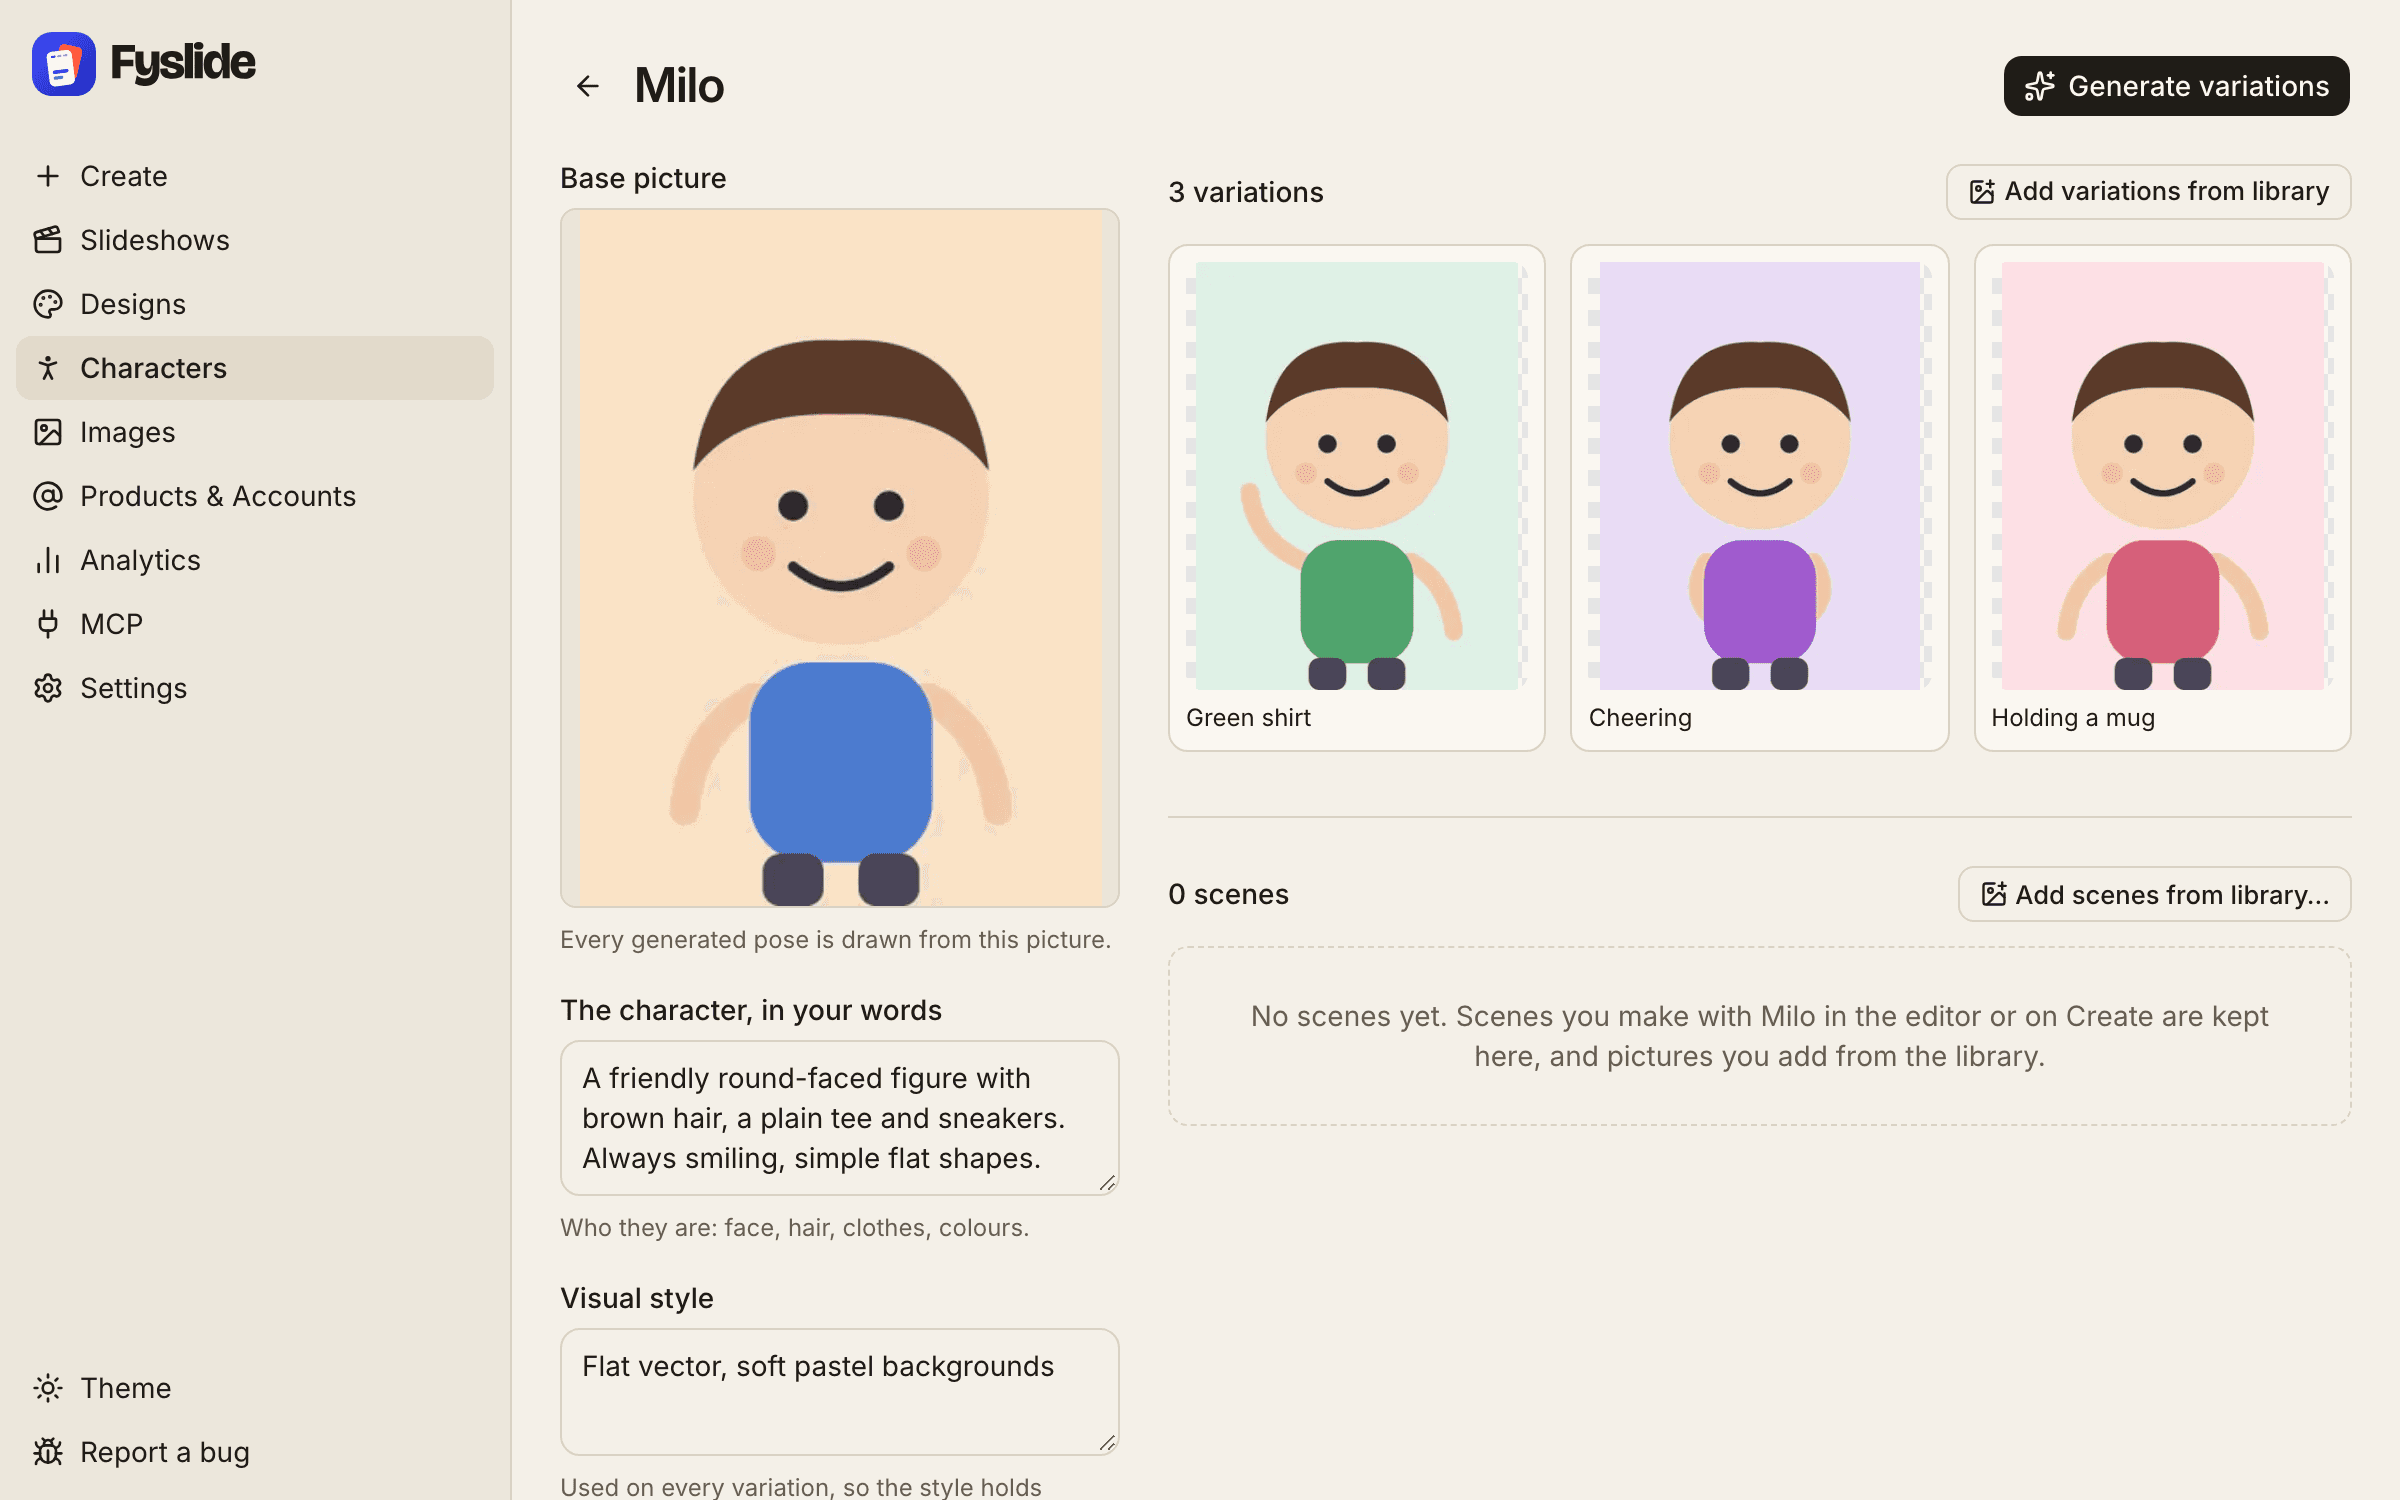
2. Choose the base picture
Under Base picture click Choose from the library and pick an illustration. Import your own artwork first on the Images page. Every generated pose is drawn from this picture.
3. Describe the character and the style
The character, in your words: face, hair, clothes, colours. Visual style: for example “flat 2D, single colour, no shading”. The style is added word for word to every generation, so it stays identical between batches. Under Advanced you can add a colour scheme.
4. Pick the design it fills
Fills the character slots of links the character to a design that has character slots; leave it on No design otherwise.
5. Add poses by hand (free)
Click Add variations from library or drop picture files onto the page (“Drop pictures to add them as variations”). Drag the tiles to reorder them. Removing a variation never deletes the picture from your library. A character can be built entirely by hand without any API key.
6. Generate poses with AI
With an OpenAI key saved (guide) the Generate variations button is available once a base picture is set. Write one pose per line (up to 8), choose Quality and Shape, optionally switch on Remove the background, and check the price on the button (“Generate 3 · about …”). Nothing is made before you click it. The results appear in a grid: Keep imports a picture as a variation, Discard deletes it. Nothing is accepted automatically, and unreviewed pictures expire after an hour.
7. Improve or recolour a variation
On a variation, Improve with AI asks what should change (“make the jumper red”) and adds the result as a new variation next to the original. Recolour swaps one flat colour for another; it only works on flat illustrations and says so when a picture is not flat. The original is never changed.
8. Put the character in scenes
In the slideshow editor choose Generate scene with character… for a slide: pick the character, Full scene (drawn into the scene, looks integrated) or Composite (scene without the character and your cut-out on top, pixel-identical and cheaper), describe the place and click generate. The picture appears first and reaches the slide only when you press Use on this slide. Used scenes are saved on the character under <name> · Scenes, and Add scenes from library… adds more.
9. Use the character on Create
On Create choose the character as Image source: <name> · new scenes makes new scenes (OpenAI key, asks first, option Character scenes under Advanced) and <name> · existing poses picks the variation or scene that fits each slide’s words and generates nothing.
Tips
- Deleting a character never deletes a picture or a slideshow.
- Keep the visual style short and concrete; it is repeated in every request.