Designs · 7 min read
Designs: build, edit and reuse your slide formats
Start a design from scratch or from screenshots, edit it, give it a writing style and use it on Create.
A design is the format of a post: size, slide layouts, fonts, colors, image areas and (optionally) how its texts are written. You make it once and reuse it for every topic.
1. Open Designs
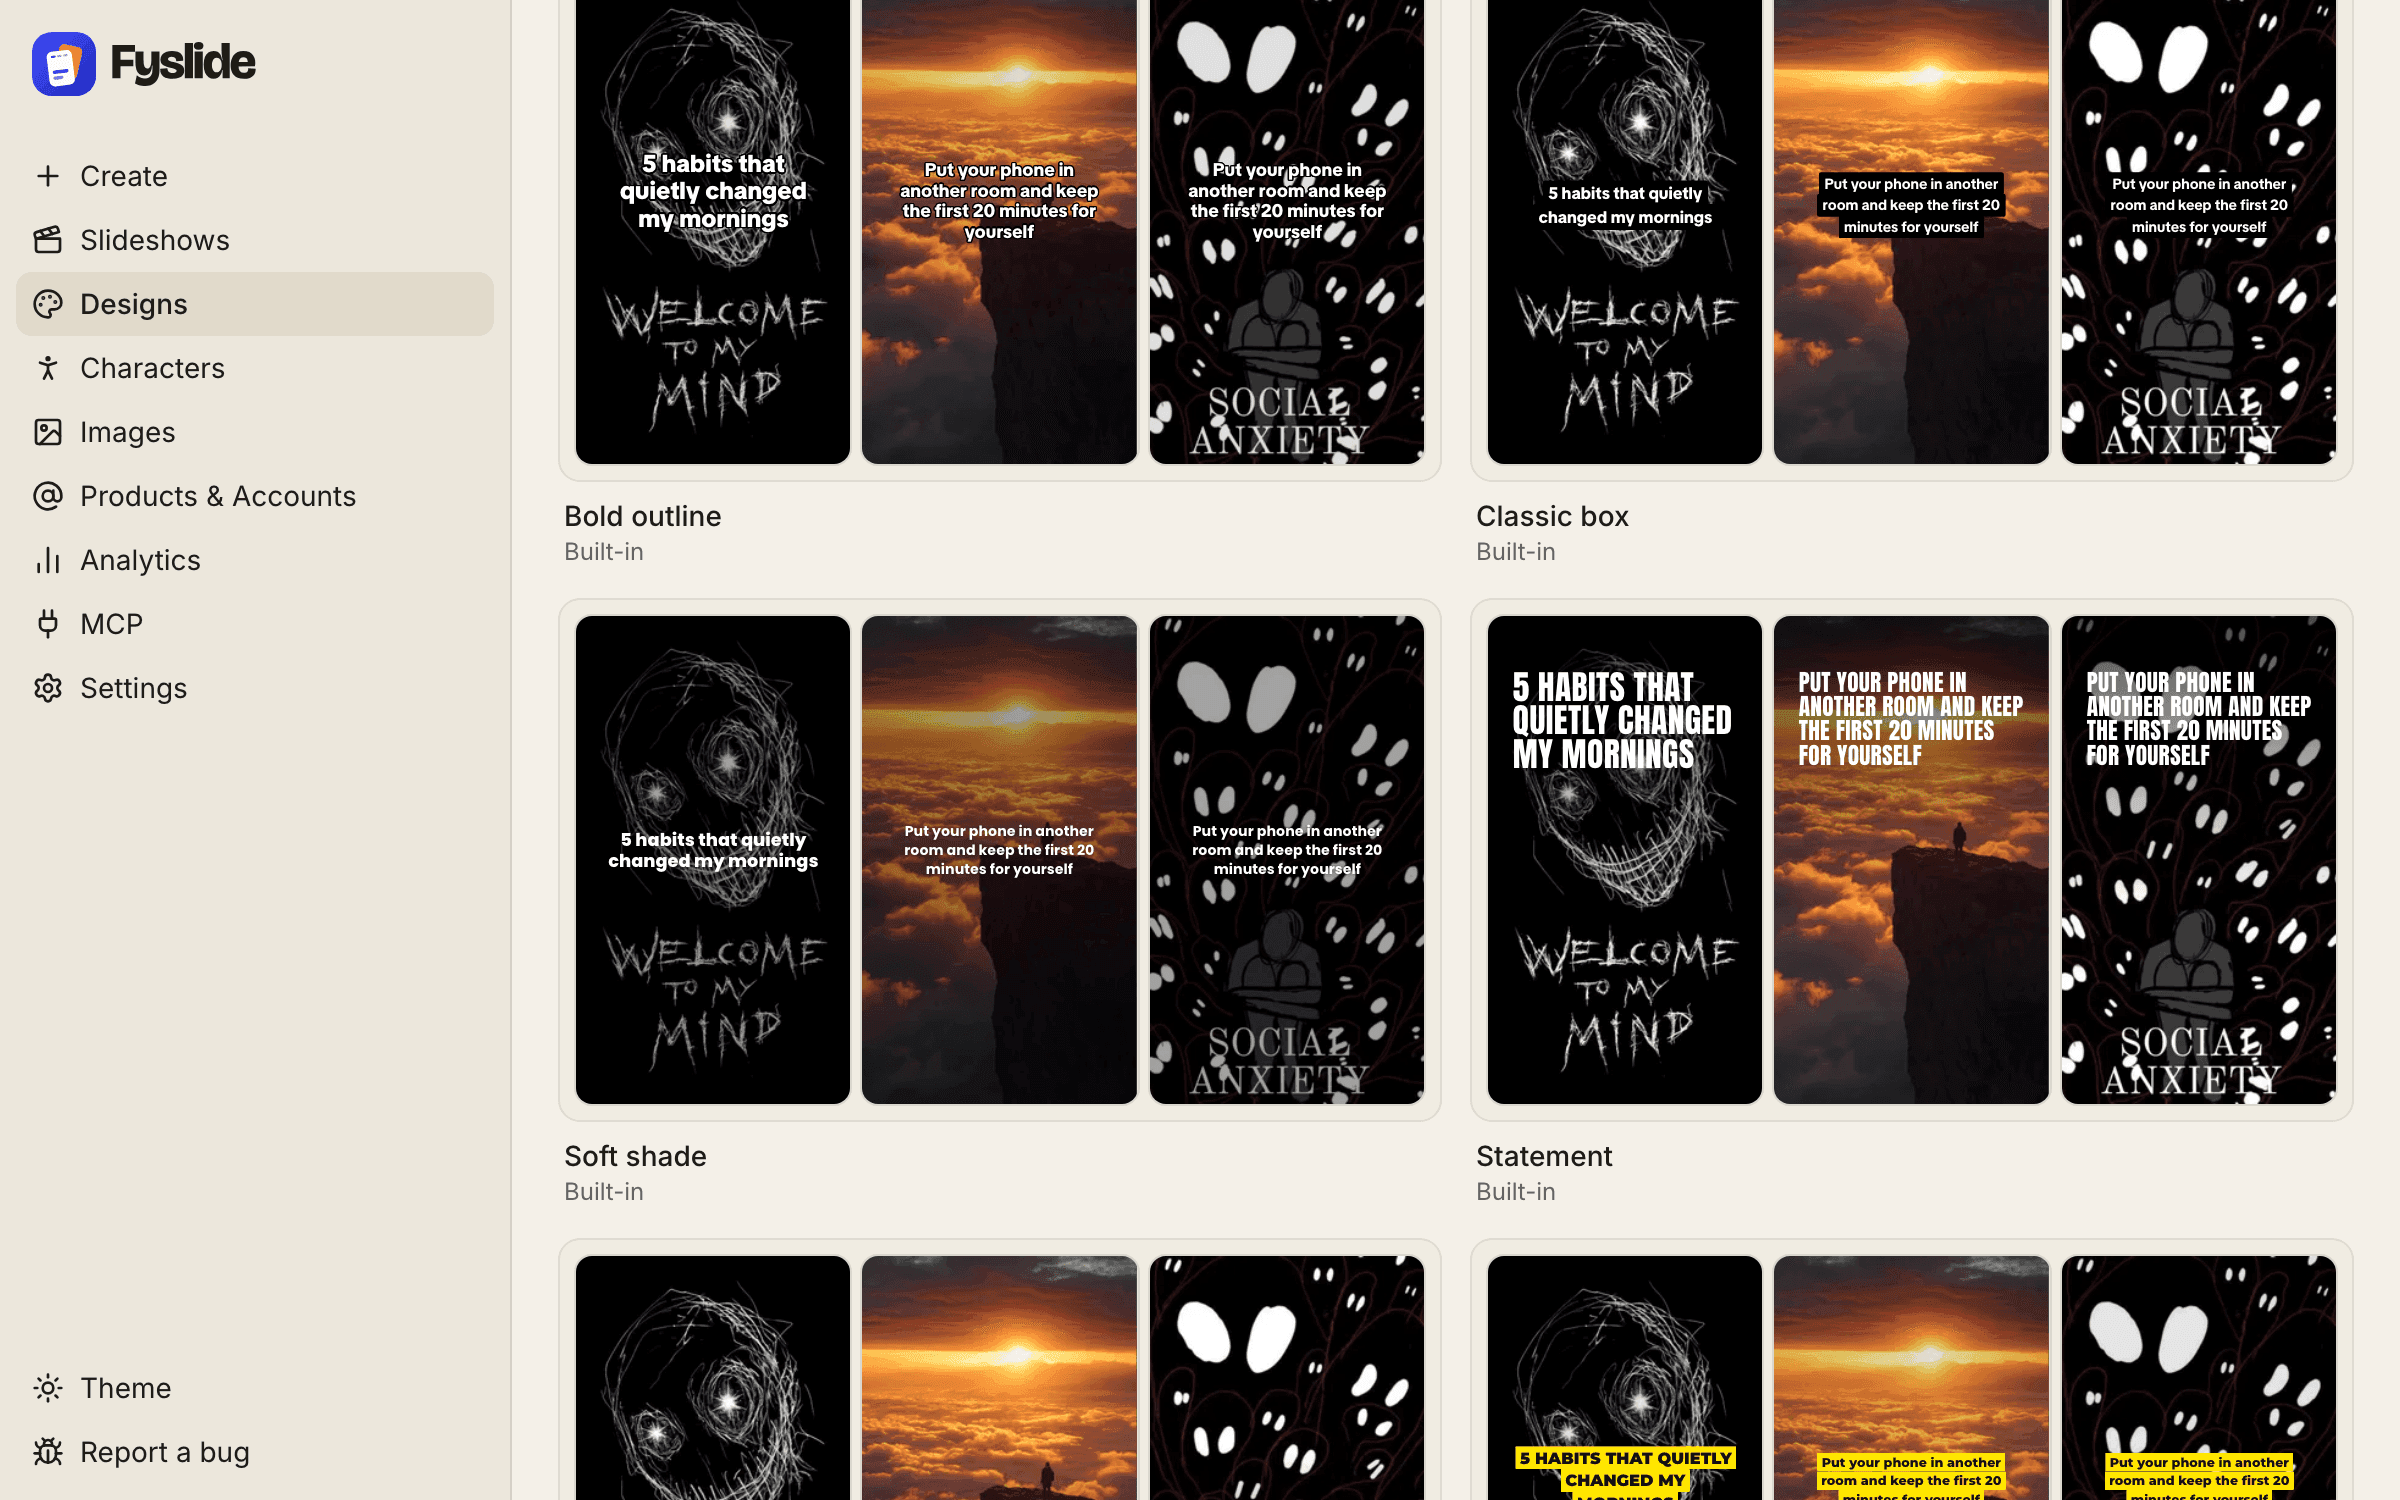
Click Designs in the sidebar. You see the built-in designs and your own, each previewed with three slides built from your library images. The header has New design and New from screenshots.
2. Start blank or from screenshots
New design opens an empty design in the editor. To copy the structure of a post you like, click New from screenshots and continue below. Or open an existing design and click Duplicate in its card menu.
3. New from screenshots
Add the slides of one post in order (PNG, JPG or WebP, up to 30 files of 25 MB; drag to reorder) and click Create design. You need an AI that can read images (AI setup). Fyslide reads the layout, measures positions and sizes, then asks you to Pick the fonts that match for each kind of text (fonts cannot be read from pixels); confirm with Use these fonts. When it says Your design is ready, choose Use on Create or Open design. Closing the window does not stop the job; Cancel design does, and Resume continues after a restart.
4. Edit it like a slideshow
Click a design to open the editor. Left: the side panel (Elements, Text, Uploads, Library, Characters, Mockups) and the slide thumbnails, which you can reorder, duplicate or delete, give a role (cover, body or closing) and extend with Add slide (up to 30 slides). Centre: the canvas. Right: Properties of the selection, or of the design when nothing is selected (size, background, safe margin, writing style). Picture slots show placeholders; Sample photos fills them with library images for the preview only.
5. Style once, apply everywhere
Changing the look of a text slot also changes the same slot on the other slides that matched it. Everything is undoable and saved automatically. Designs made from screenshots keep a Screenshot switch that shows your original beside the design, and From screenshots in the right panel lists what was measured and the best font matches.
6. Fill in the Content section
Click Content in the header. This is the writing brain of the design: Tone & style, Structure (for example “slide 1 is the hook, slides 2 to 6 are one short headline plus one short paragraph each, last slide is the CTA”), Hooks with {words in braces} filled per post, a Topic bank, the Product and Call to action, and under Advanced words per headline and paragraph, things to avoid and example posts. Fill it once; Create then needs only a topic.
7. Use it
Click Use on Create in the editor header, or pick the design in the gallery on Create.
8. Turn a finished slideshow into a design
In the slideshow editor choose Save as design. It takes the layouts, styles and sizes of the slideshow, turns the texts into placeholders and empties the picture slots. If the slideshow came from a design that still exists you can update that design instead. Slideshows already made with a design keep their slides.
9. Keep it tidy
The card menu has Duplicate, Rename and Delete. If slideshows still use a design, Fyslide asks you to pick a replacement first. Built-in designs can be edited too; Reset to original brings back the shipped version, and Settings has a button to restore removed built-ins.
Tips
- Send two or three screenshots that show the different slide types (cover, content, closing) for the best result.
- Use a format as inspiration, not as a copy: change colors and fonts to your brand, and use your own or licensed pictures.
The shorter version of the screenshot path is in Build a reusable design from screenshots.