Images · 6 min read
Images: build a library Fyslide can pick from
Import, organize, tag, search, crop and cut out your pictures, and find new ones on Openverse or Pinterest.
The image library is the pool Create draws from. Fyslide keeps its own copy of every picture in ~/Library/Application Support/Fyslide; your originals stay where they are.
1. Open the library
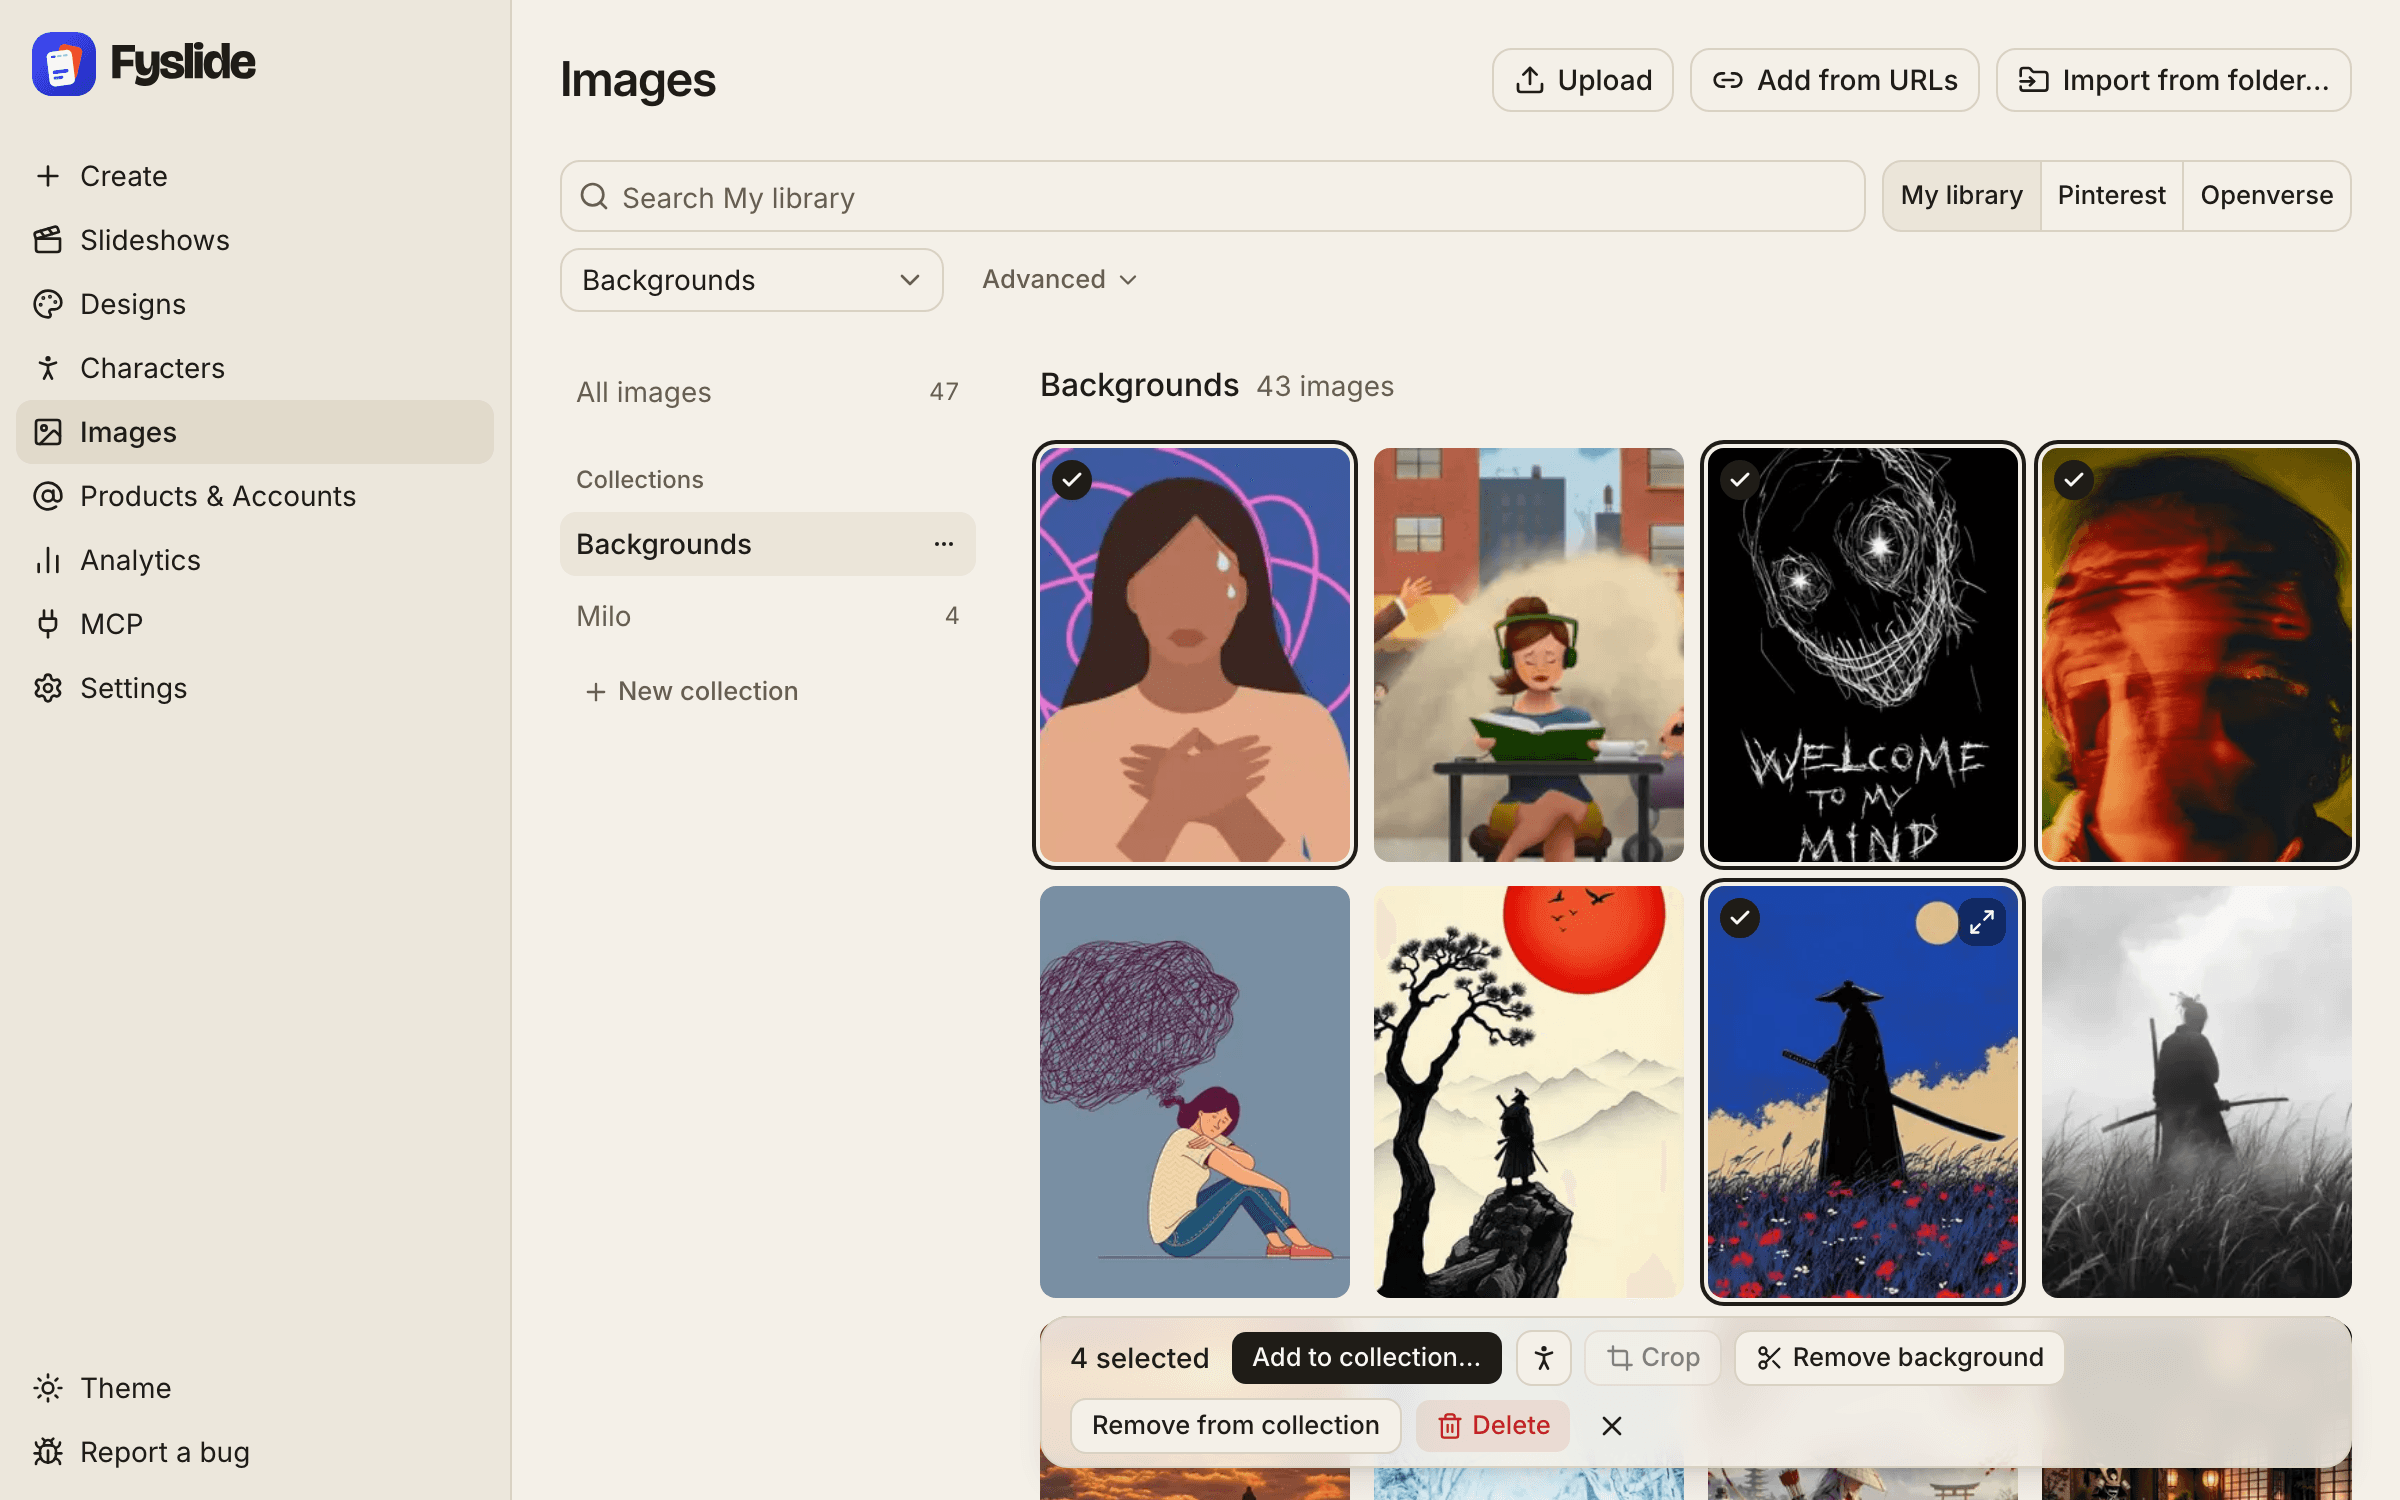
Click Images. All images shows everything, the rail on the left shows your collections.
2. Bring pictures in
Click Upload, drag images or whole folders anywhere onto the page, paste with ⌘V, use Add from URLs (one link per line) or Import from folder… (up to 1,000 pictures at once). HEIC, HEIF and TIFF files are converted; each picture can be up to 50 MB.
3. Group them in collections
Click New collection in the rail. Select pictures and use Add to collection…, or drag tiles onto a collection. Deleting a collection keeps its images in the library.
4. Search your library
The My library tab searches as you type, by tags, subject, file names and collection names. Narrow it with Shape (Any shape, Landscape, Portrait, Square), a collection and a minimum width.
5. Tag the library (optional)
In Settings → Image tags click Tag N images. An AI that can read pictures (your chosen provider, or your local Ollama vision model) describes each image once. Create then matches the words of every slide to the pictures that fit, and Use my library first in Settings prefers them over web search. You can Cancel any time; the pass continues where it stopped.
6. Find new pictures
Switch the search tab to Openverse (Creative Commons; keep the attribution the license asks for) or Pinterest (optional; it opens a Chrome window with your own login, see Pinterest & image rights). Select results and use Save to collection.
7. Crop and remove backgrounds
Select one picture and click Crop: the crop is used wherever the picture appears (a crop made on a slide overrides it). Remove background works on up to 50 pictures at a time with Apple Vision on your Mac (macOS 14 or newer); every cut-out is shown first and nothing is added until you press Use, and one Undo takes a batch back.
8. Assign to a character, or delete
Assign to character… turns selected pictures into that character’s scenes. Delete tells you which slideshows use the pictures; those slides stay.
Tips
- The best Create results come from a few hundred tagged, consistent pictures.
- Turn on Ignore images with text in Settings to skip pictures with titles or watermarks in Pinterest results.